25 Realistic Tiger Tattoo Design Ideas
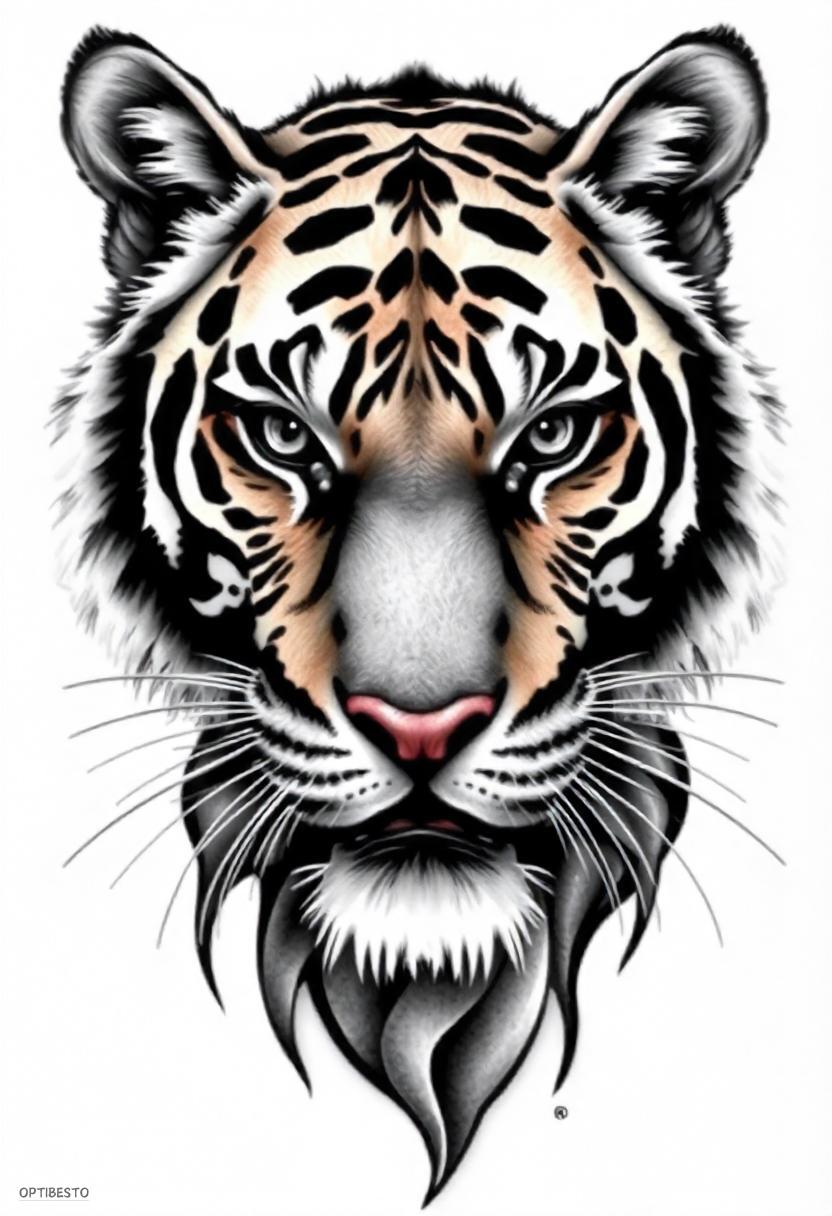
The tiger symbolizes strength, courage, and beauty, and capturing these attributes in ink requires not just technical skill but also an understanding of the creature itself.
Whether you’re an experienced tattoo artist or an aspiring sketch artist, these ideas will help you bring the king of the jungle to life on skin or paper.
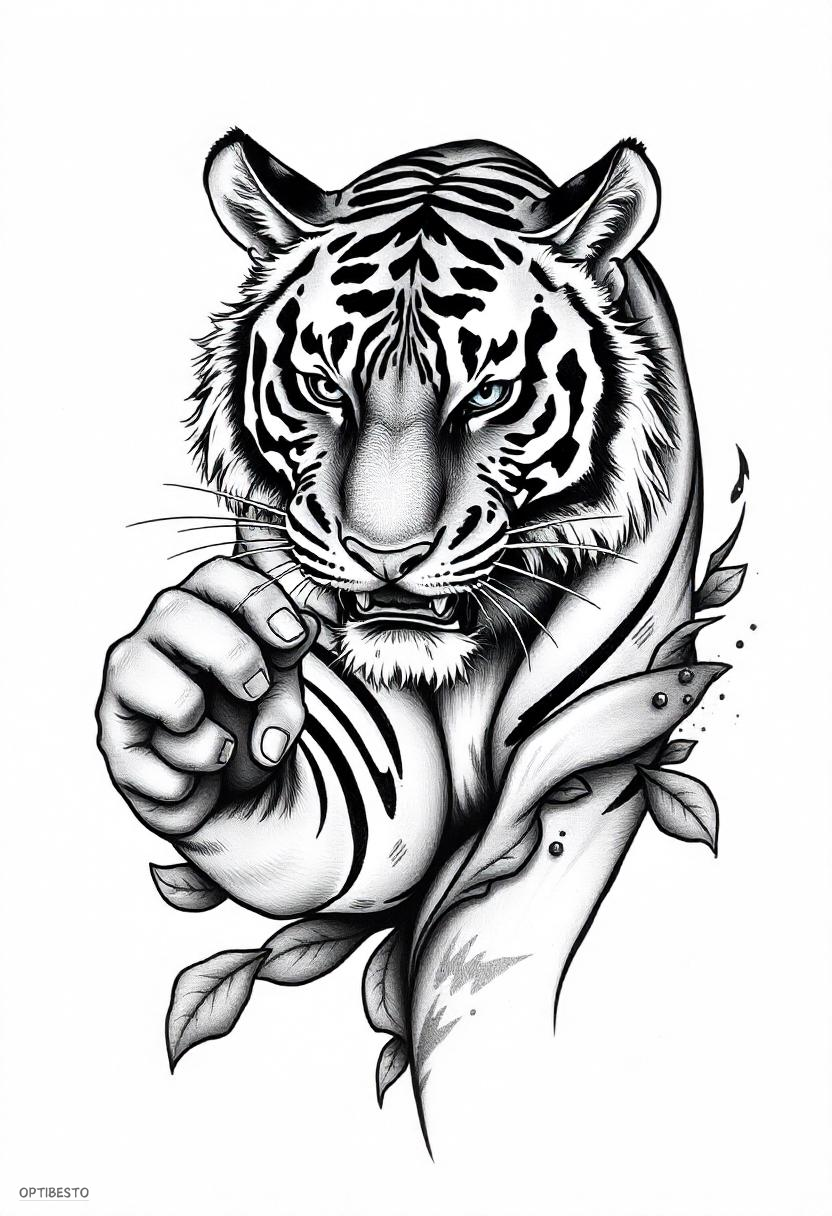
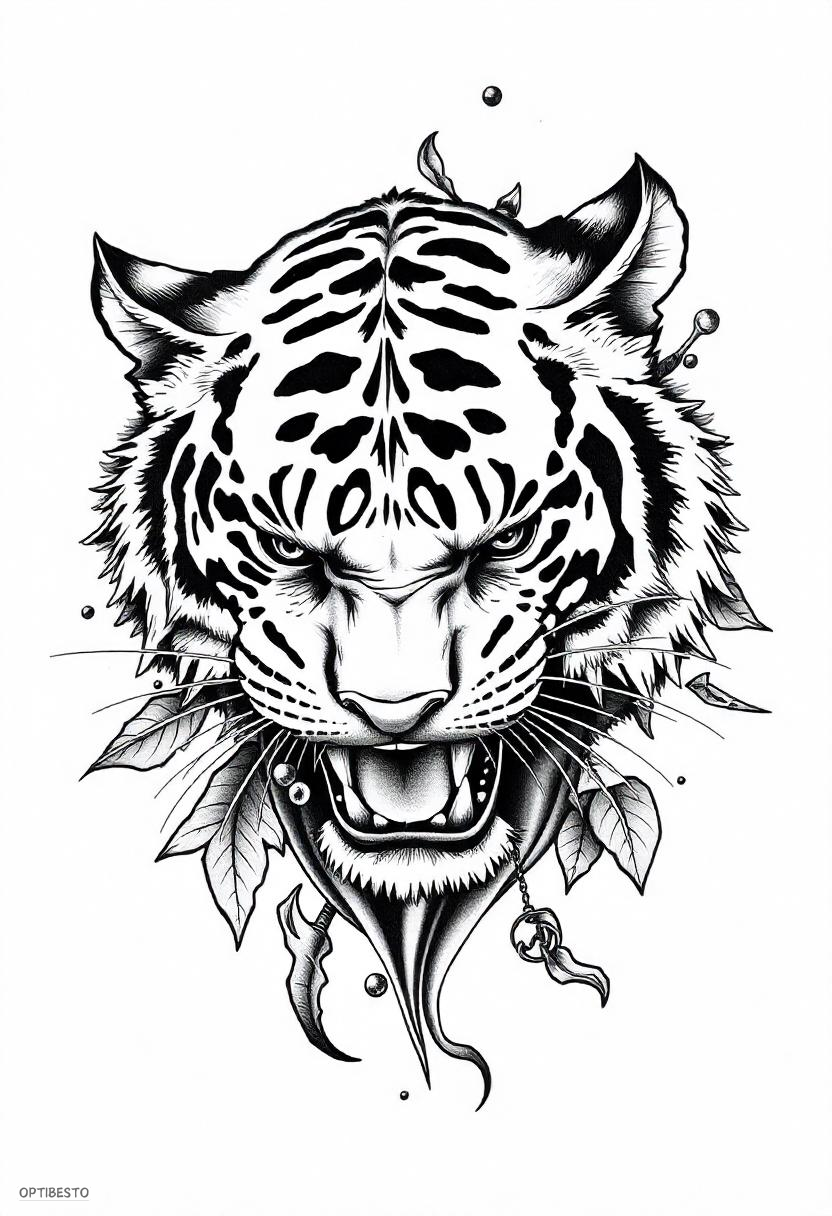
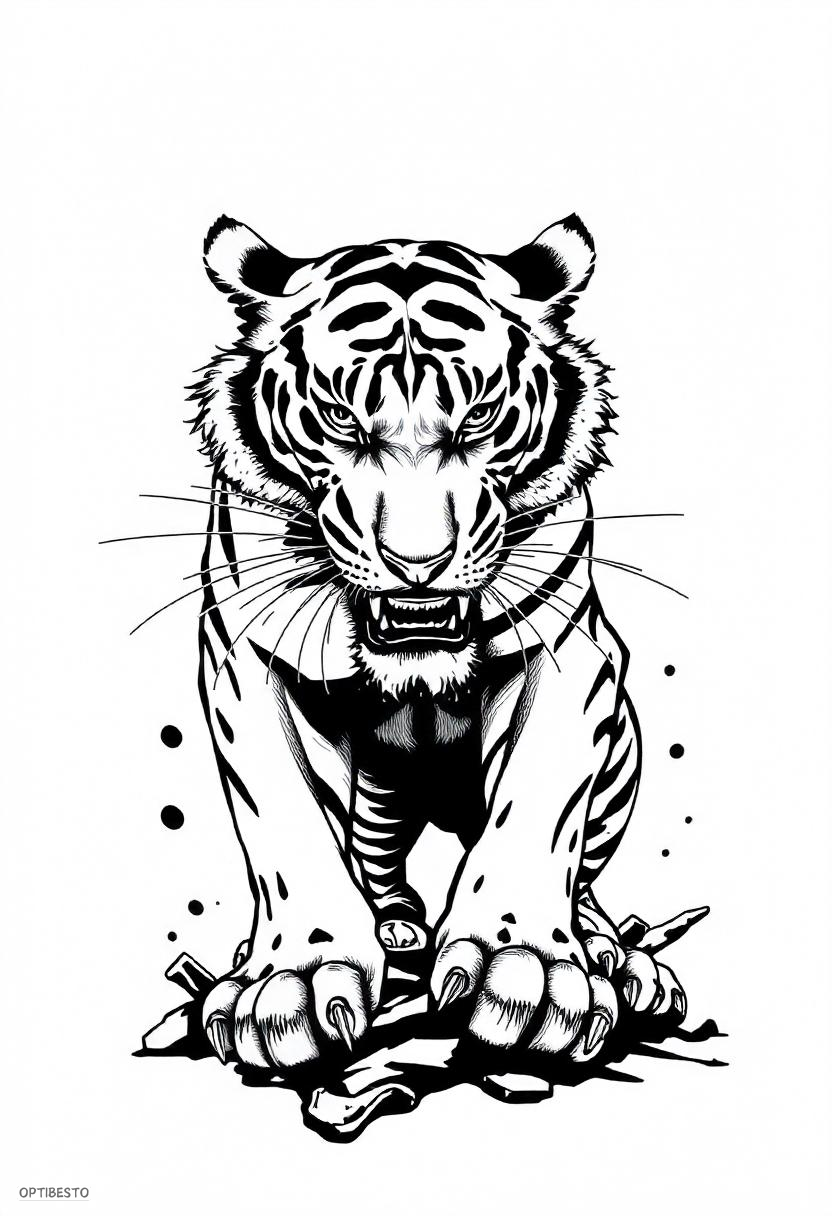
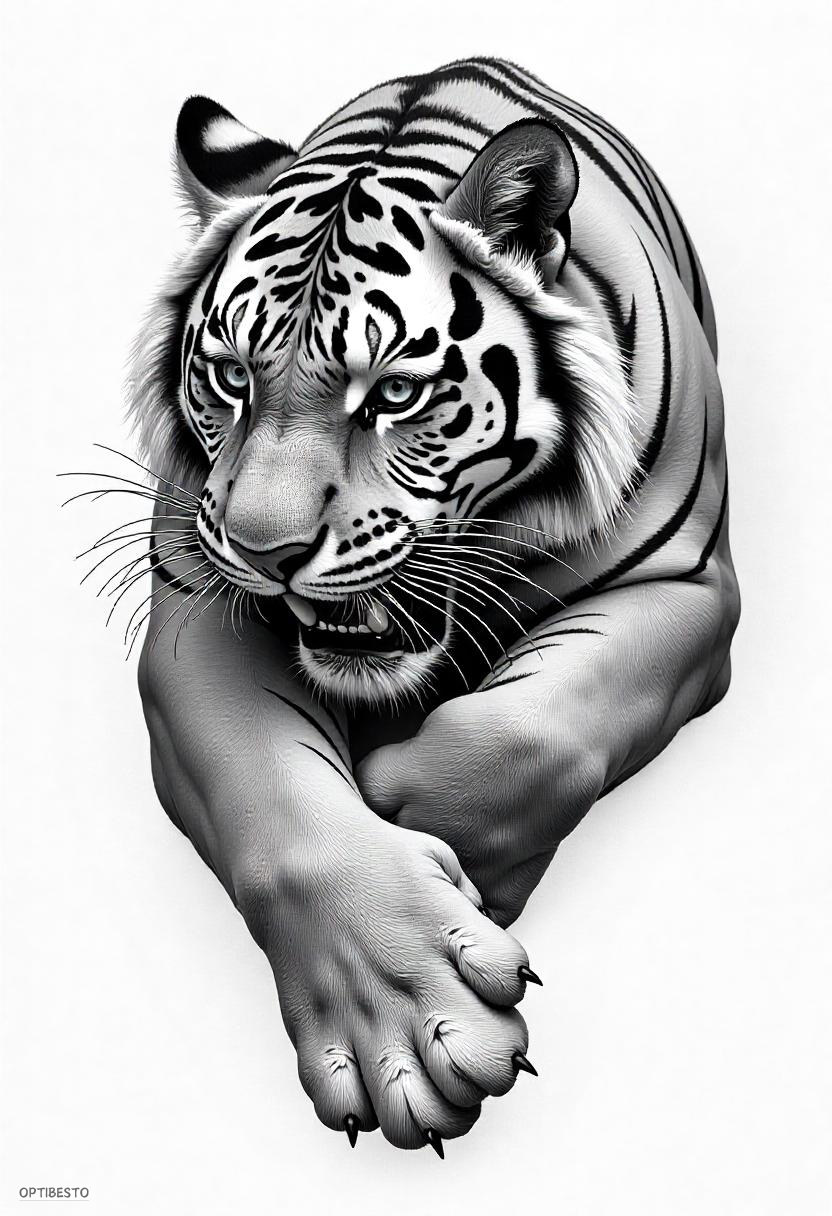
Realistic Tiger Tattoo Design Ideas
1
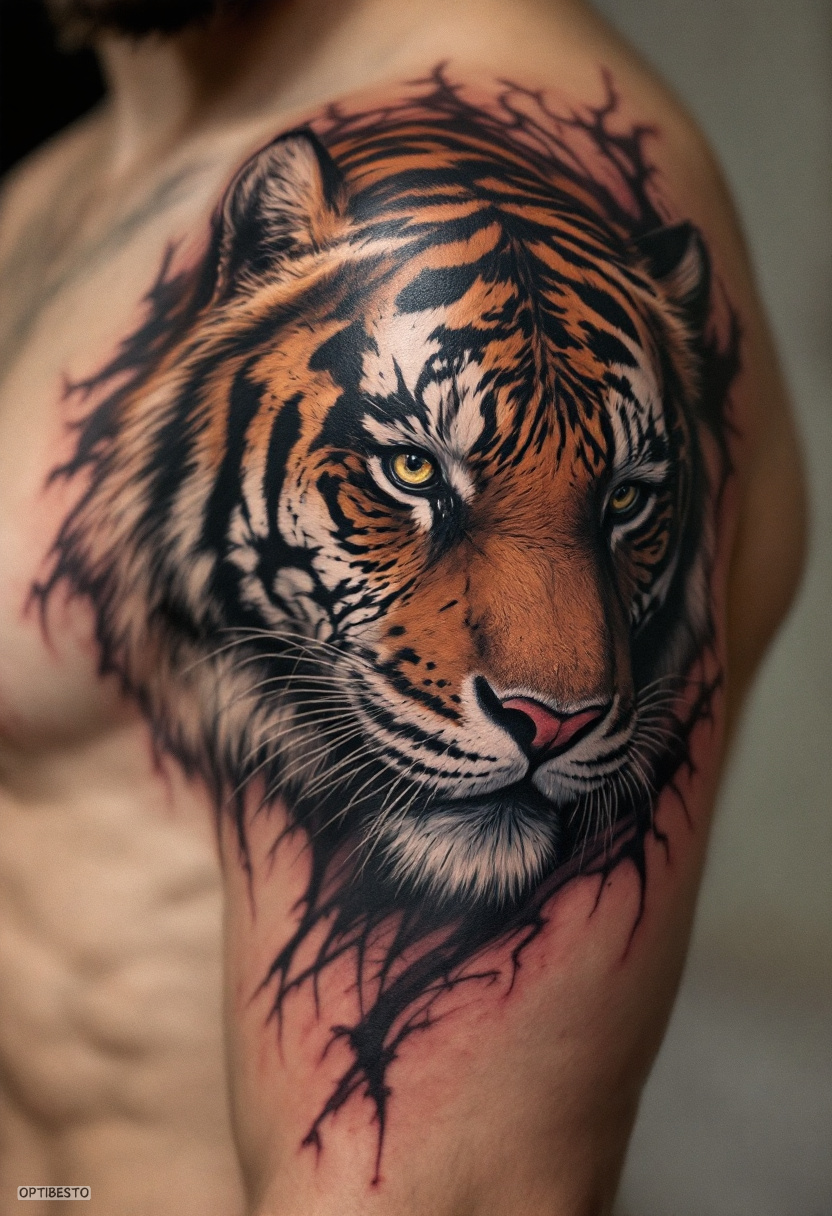
2
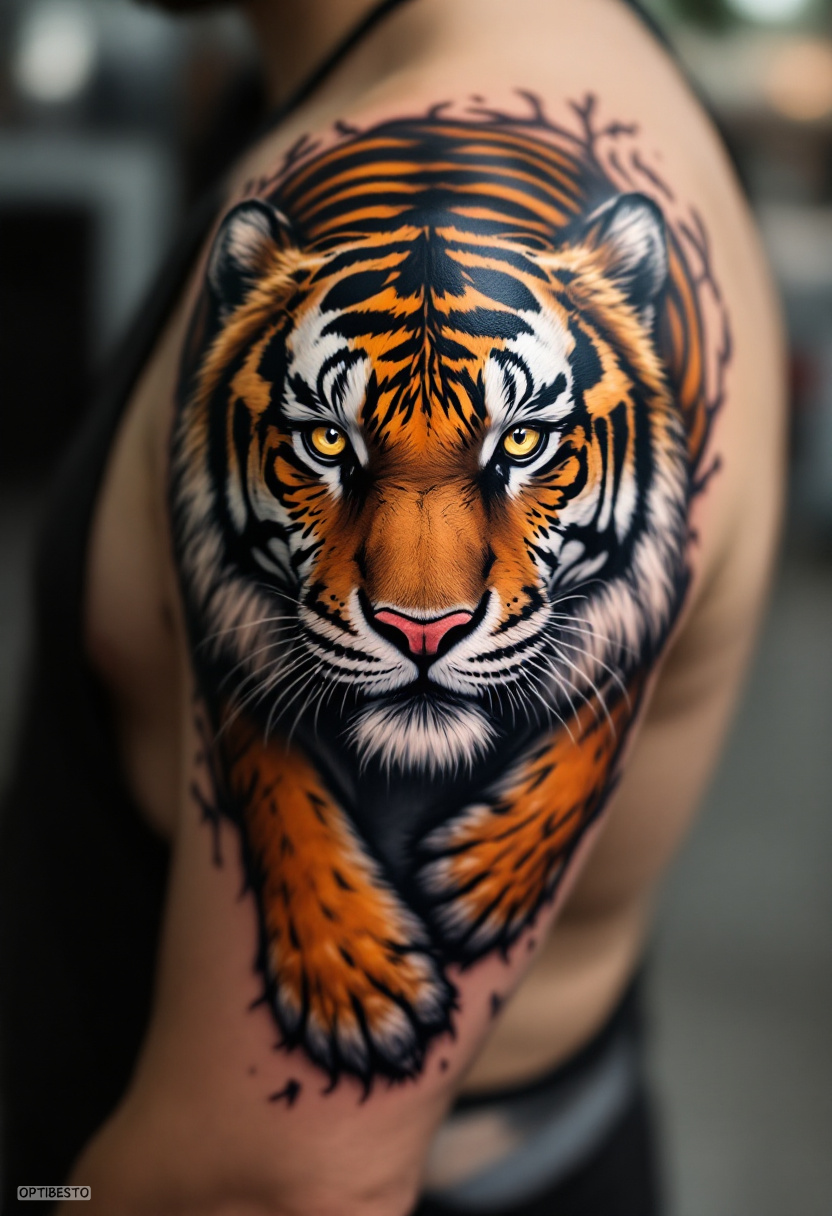
3
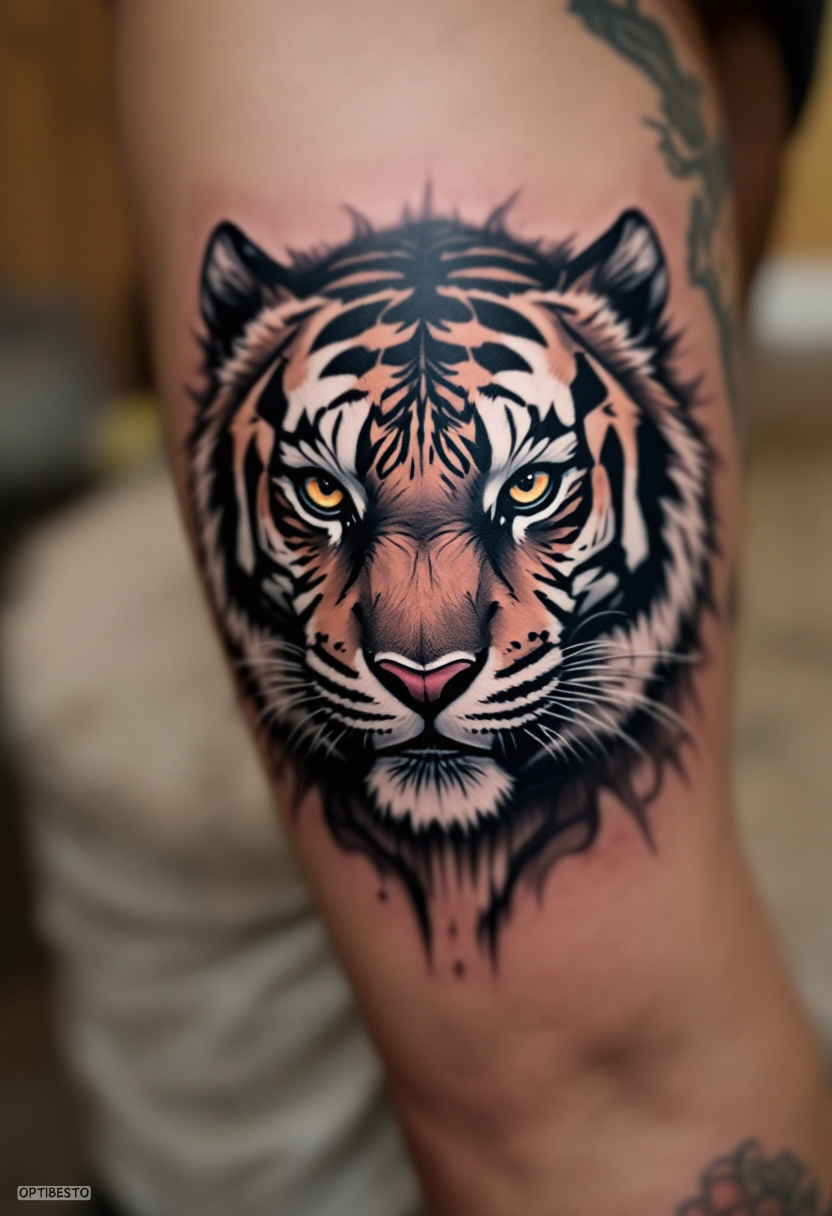
4
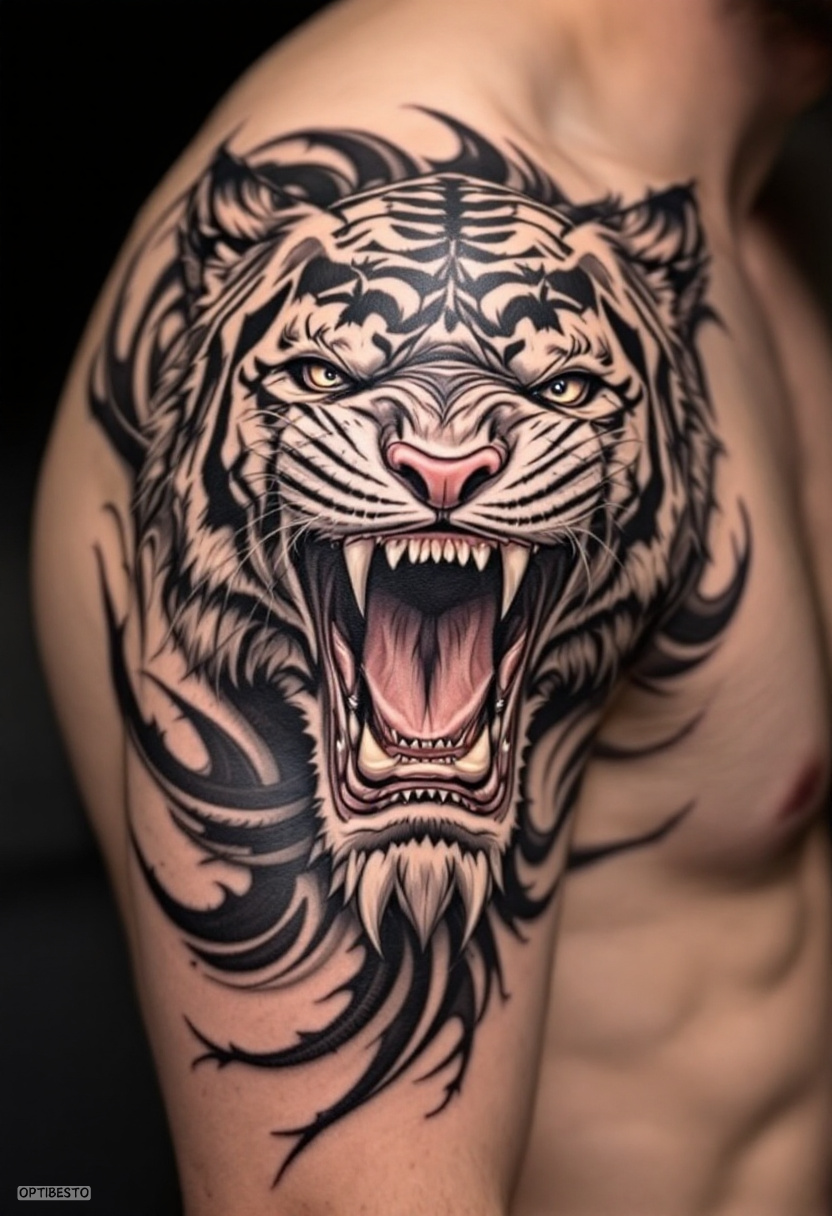
5

6
7
8
9
10
11
12
13
14
15
16
17
18
19
20
21

22
23
24
25
1. Research and Reference: Know Your Tiger
Before you even pick up your pencil or tattoo gun, dive deep into research. Tigers are majestic creatures, and each subspecies—Bengal, Siberian, Sumatran—has its unique characteristics. Look at multiple references from photographs to wildlife documentaries. Pay attention to:
- Patterns: Tigers’ stripes are as unique as human fingerprints. Study how the stripes flow along their bodies, and remember they are not uniform but follow the animal’s musculature.
- Features: Note the sharpness of their eyes, the curve of their ears, and the length of their whiskers.
- Postures: From a stalking crouch to a regal stare, tigers exude different emotions depending on their posture. Choose a pose that aligns with the story you want your tattoo to tell.
Pro Tip: Create a folder of high-quality tiger images for quick reference during your sketching or tattooing sessions.
2. Anatomy is Key
A realistic tiger tattoo demands a solid understanding of anatomy. Familiarize yourself with the tiger’s skeletal and muscular structure. This knowledge will help you accurately depict its:
- Face: The tiger’s face is its most expressive feature. Mastering the proportions—the spacing between the eyes, the size of the nose, and the shape of the jawline—is crucial.
- Body: Observe how muscles ripple under the tiger’s skin when it moves. Incorporate this dynamism into your design to make the tiger appear alive.
- Paws and Claws: Don’t neglect the details of their powerful limbs and sharp claws; they’re essential to the tiger’s character.
3. Perfecting the Stripes
Tiger stripes can make or break the tattoo. Here’s how to get them right:
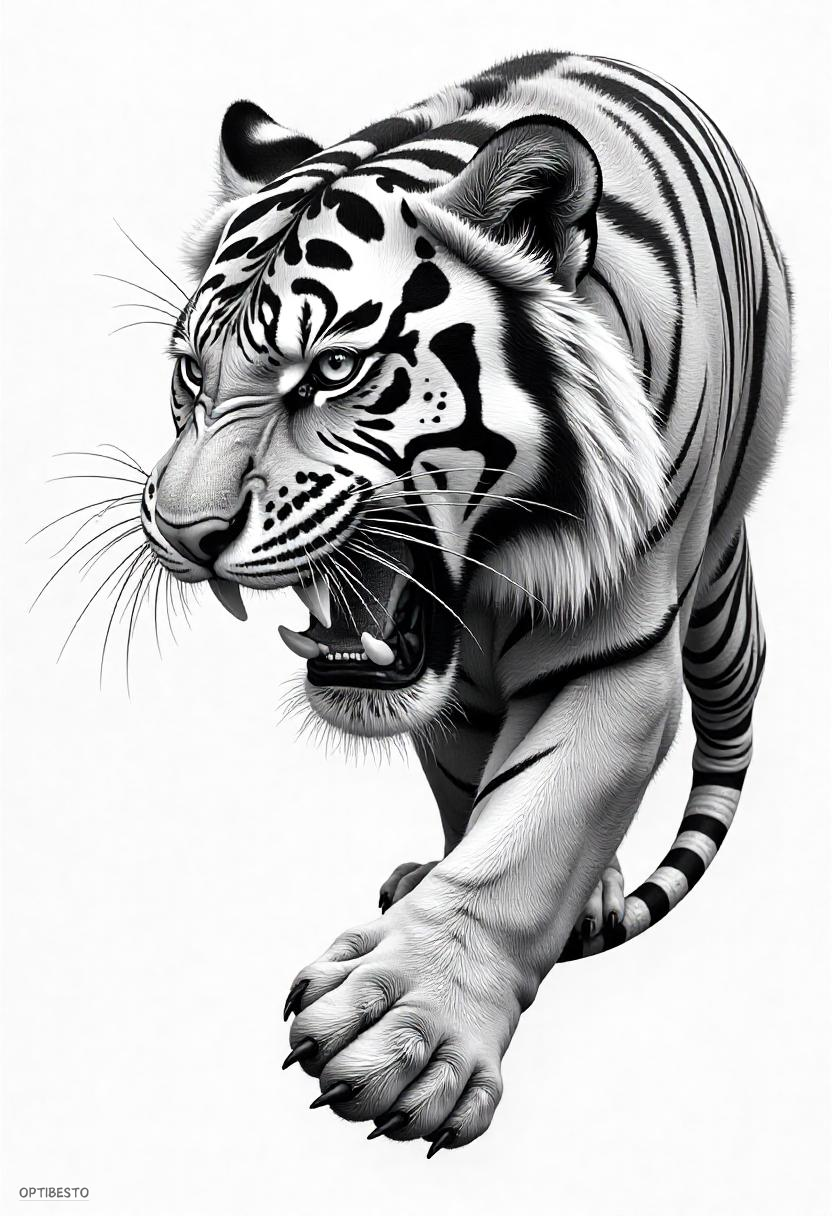
- Flow with the Body: Stripes should contour with the tiger’s form. For example, they curve around the shoulders and taper along the tail.
- Varying Thickness: Stripes are not uniform. Mix bold, thick lines with fine, delicate ones to create depth and realism.
- Avoid Symmetry: Real tiger stripes are naturally asymmetrical. Strive for an organic, imperfect pattern.
Tip: Use a fine liner to map out the stripes during the sketching phase. This will give you room to tweak the flow and density before finalizing.
4. Mastering the Eyes
A tiger’s eyes are its soul. They are what draw viewers in and convey the animal’s intensity. To capture their power:
- Shape: Tigers’ eyes are almond-shaped but slightly rounded at the corners. Ensure symmetry but avoid making them look too perfect.
- Iris Details: The irises are a blend of colors, usually amber or greenish-yellow. Add depth by layering hues and including subtle reflections.
- Highlight: Always add a small white highlight to the eye. This gives it a lifelike sparkle.
5. Texture is Everything
Creating realistic fur is one of the most challenging parts of a tiger tattoo. Here’s how to achieve it:
- Layering: Build the fur in layers. Start with light strokes to map out the fur direction, then gradually darken the areas that need shadow or depth.
- Length Variation: The fur on a tiger’s face is shorter than on its body. Keep this in mind as you draw.
- Highlight and Shadow: Use highlights to mimic the sheen of the fur and shadows to define its density.
6. Choosing the Right Pose
The tiger’s pose sets the tone for the tattoo. Consider:
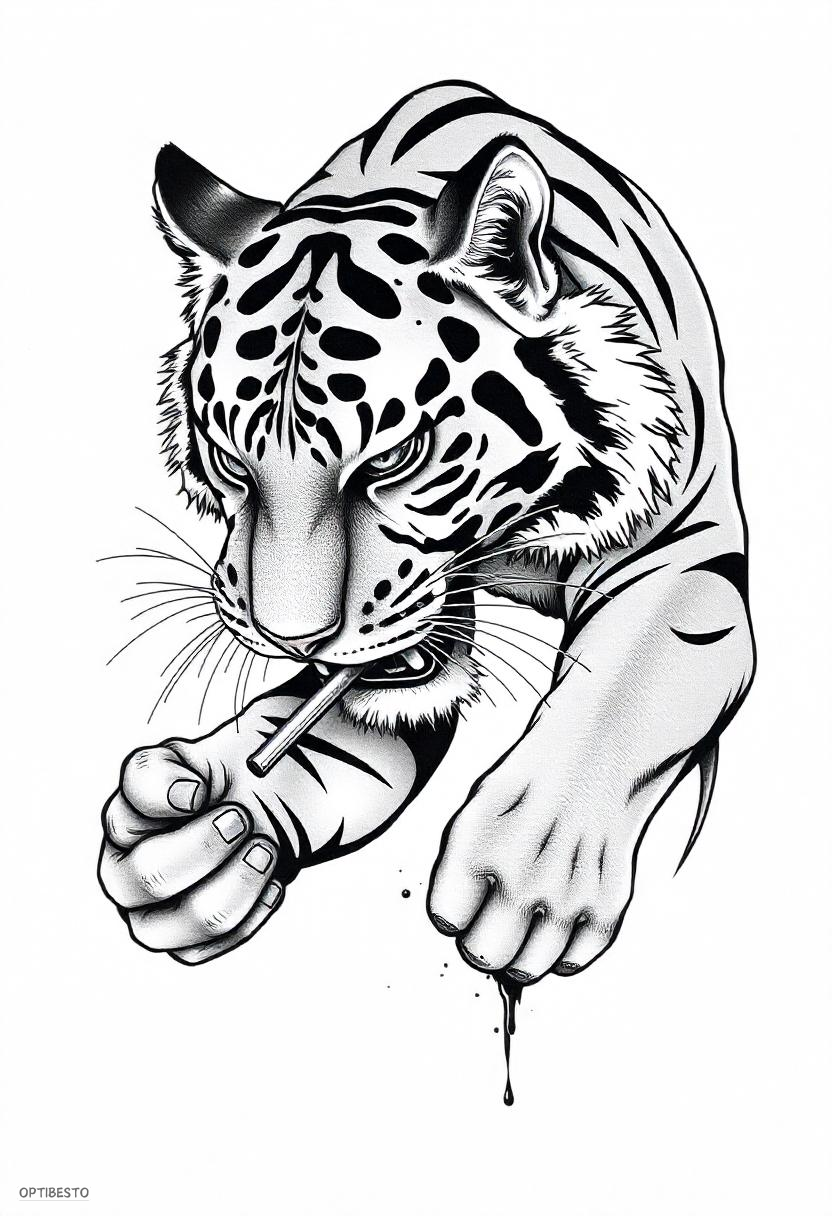
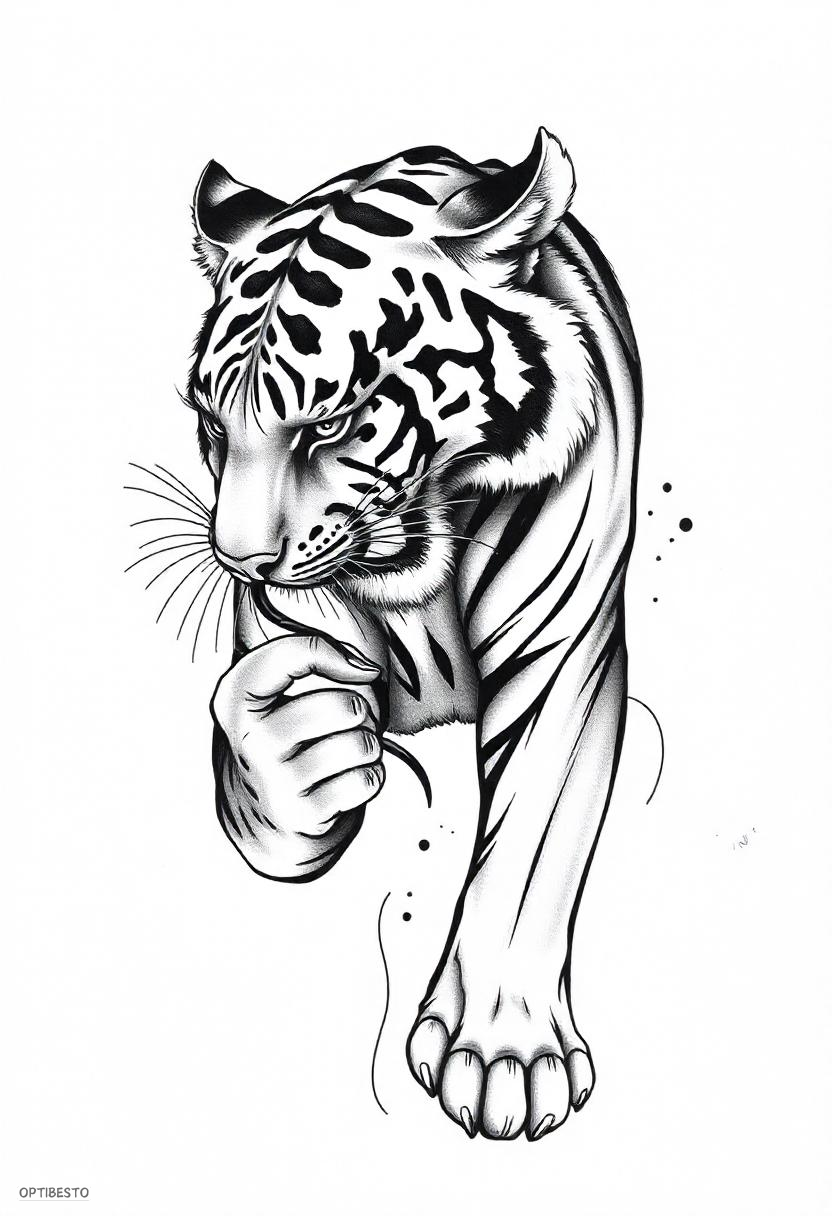
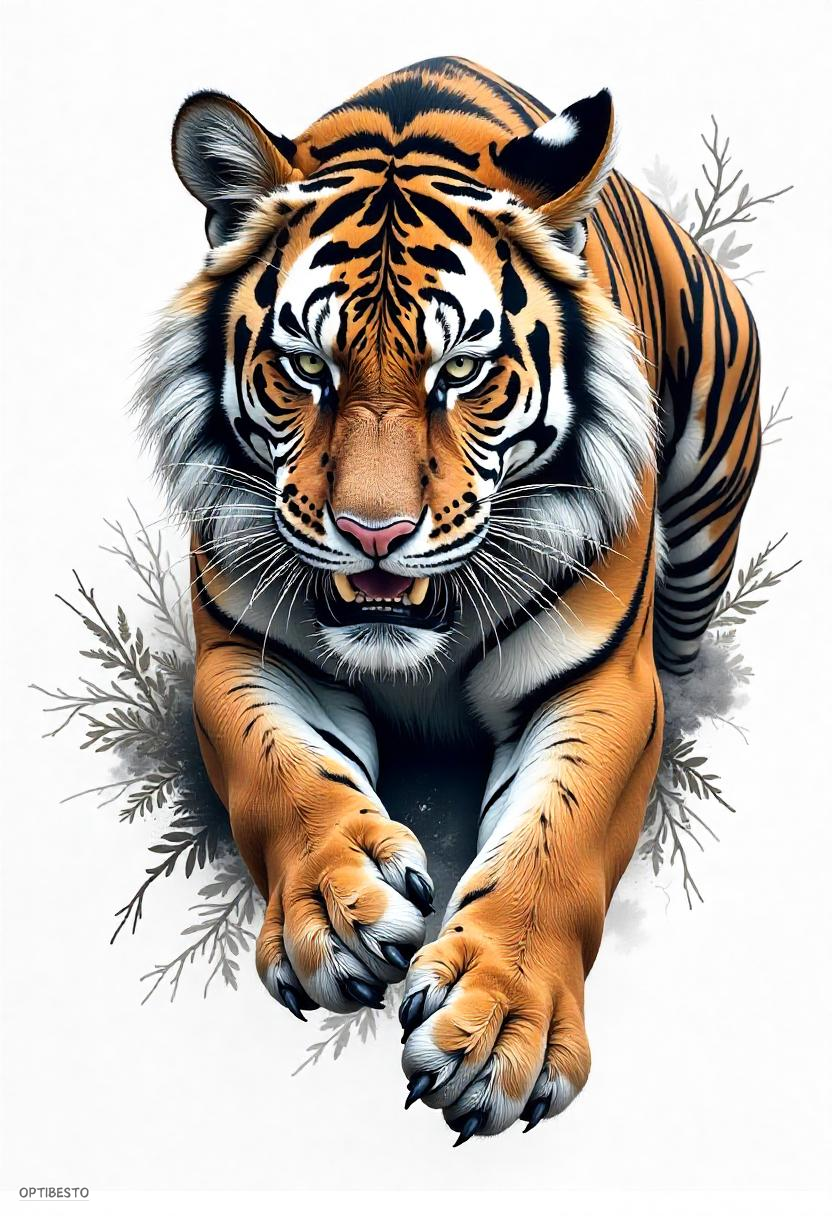
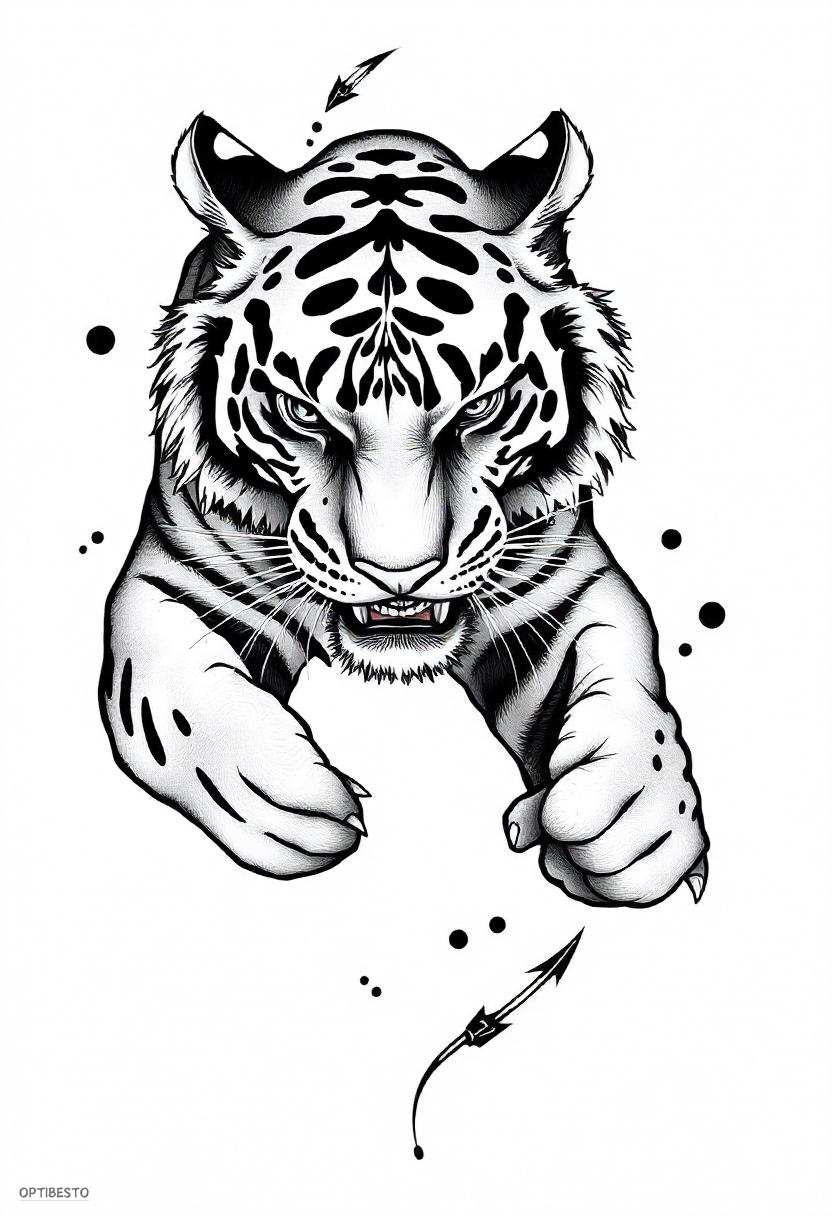
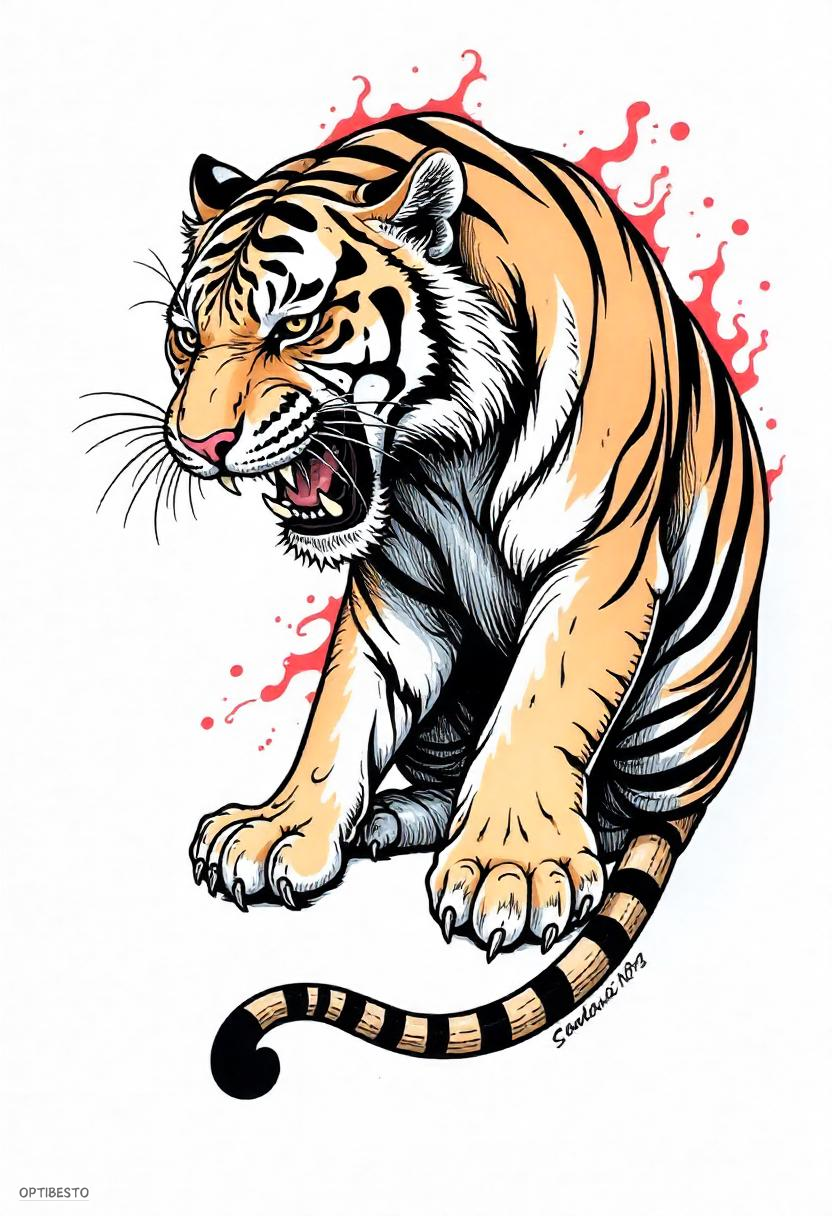
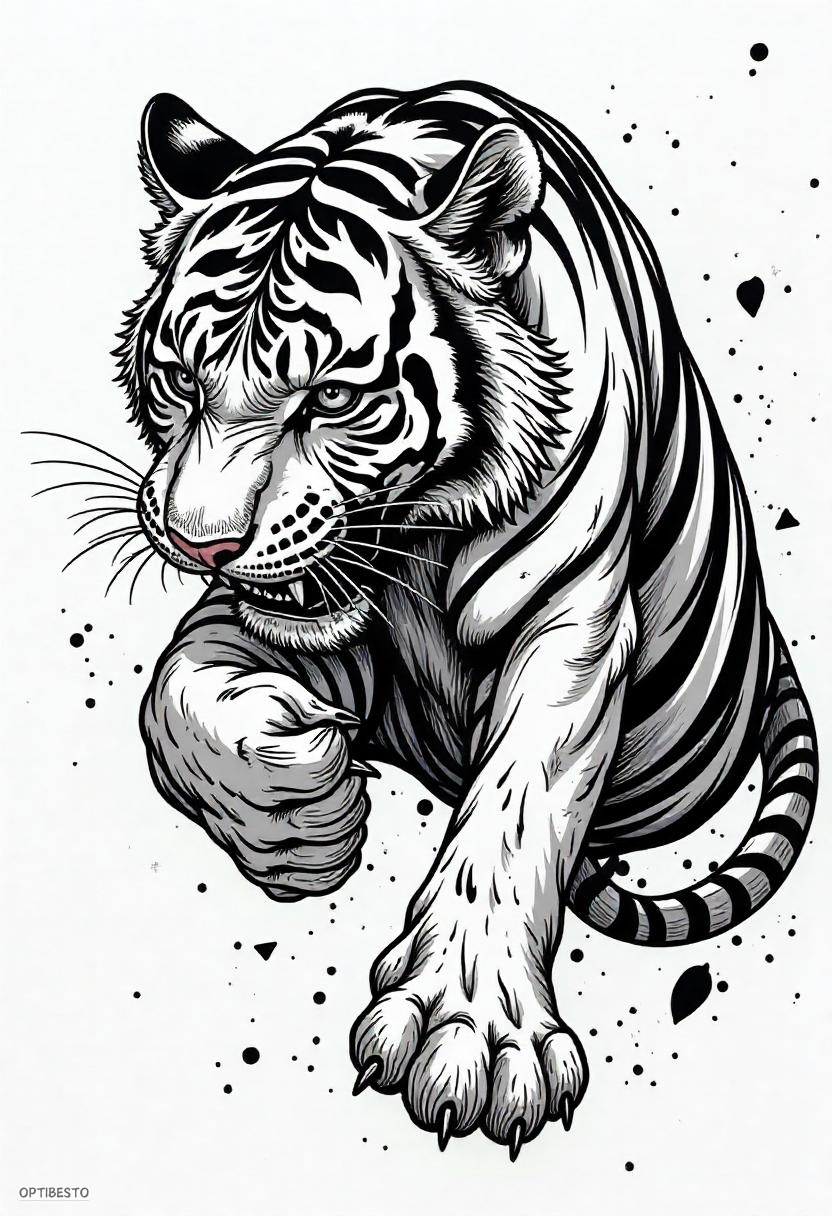
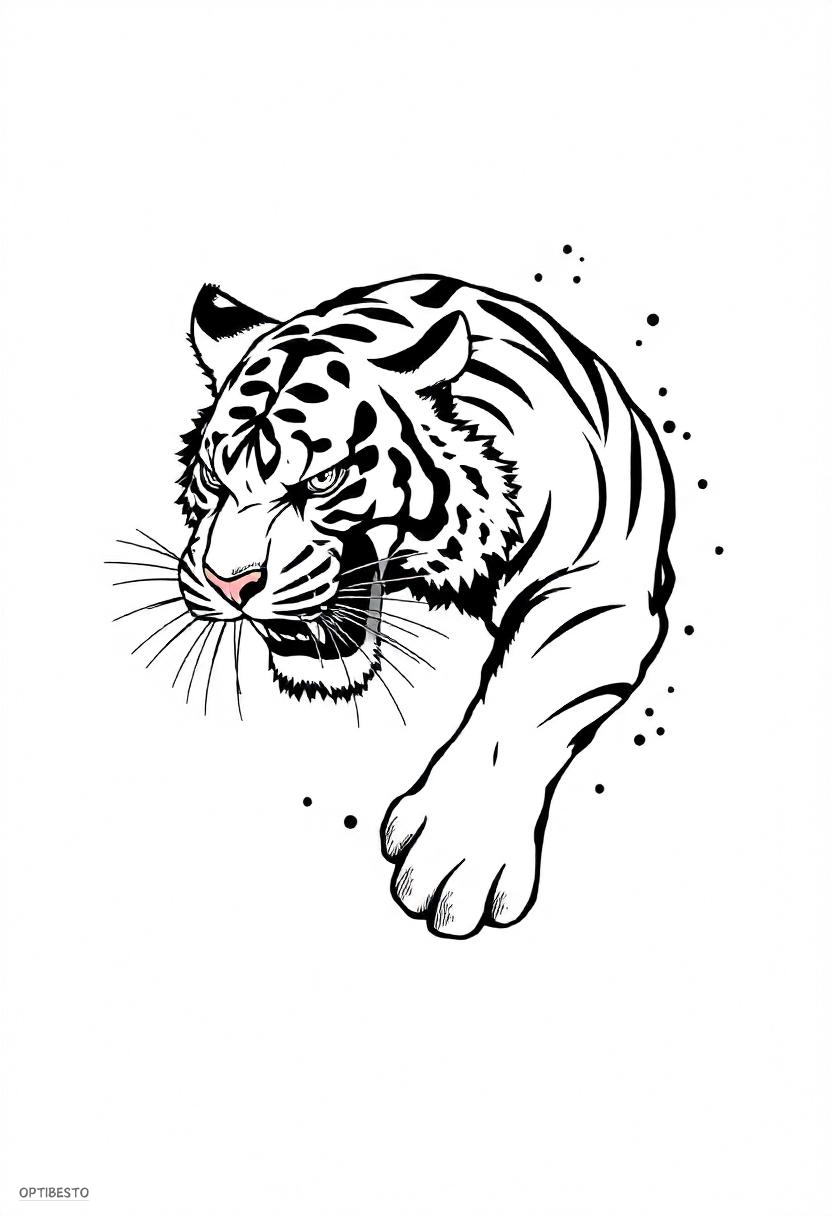
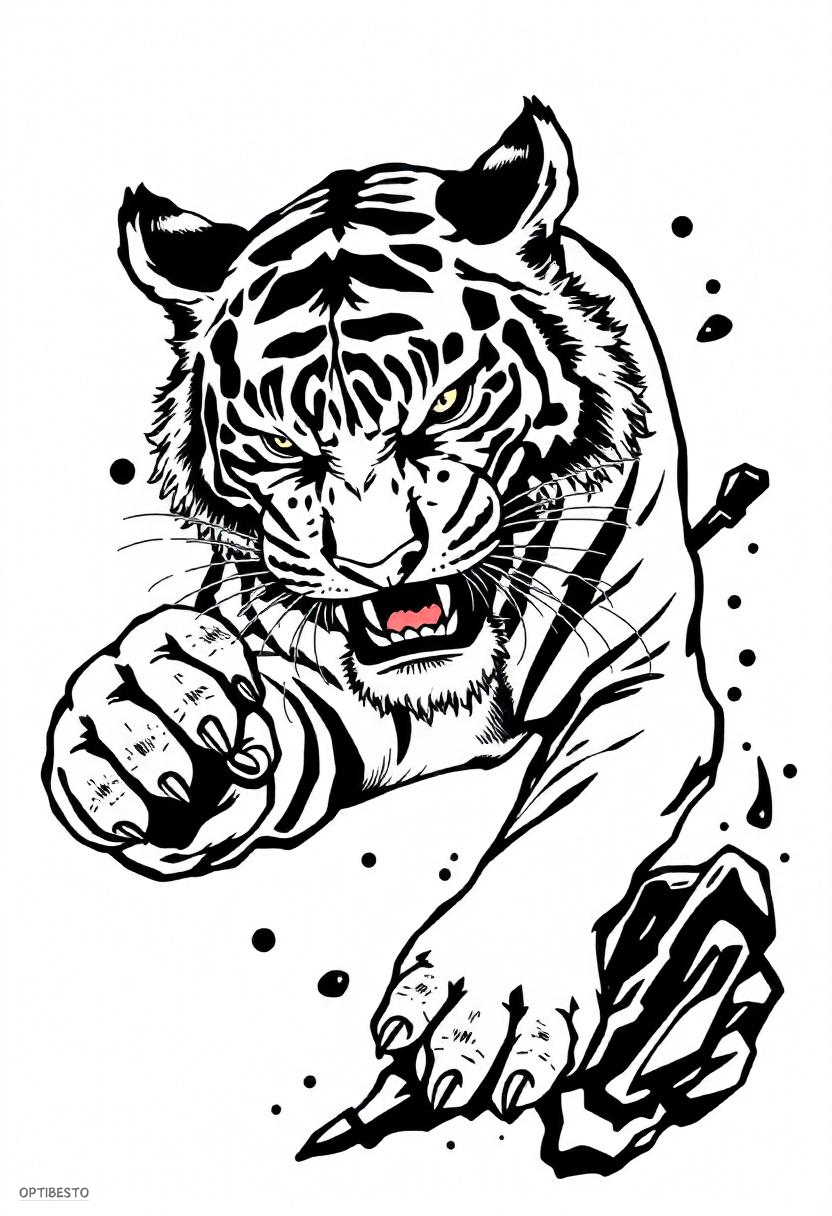
- Dynamic Action: A tiger leaping or stalking creates a sense of motion and drama.
- Regal Stillness: A sitting or lying tiger exudes majesty and calm.
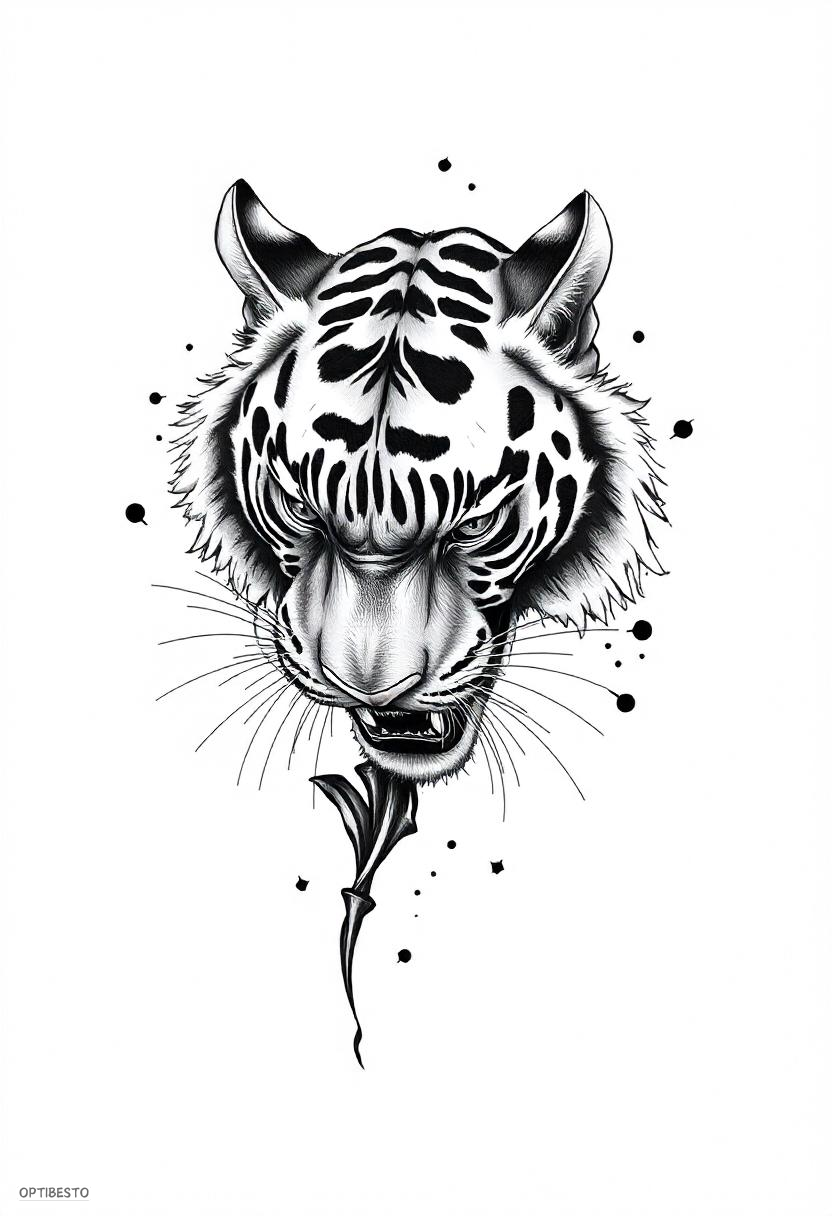
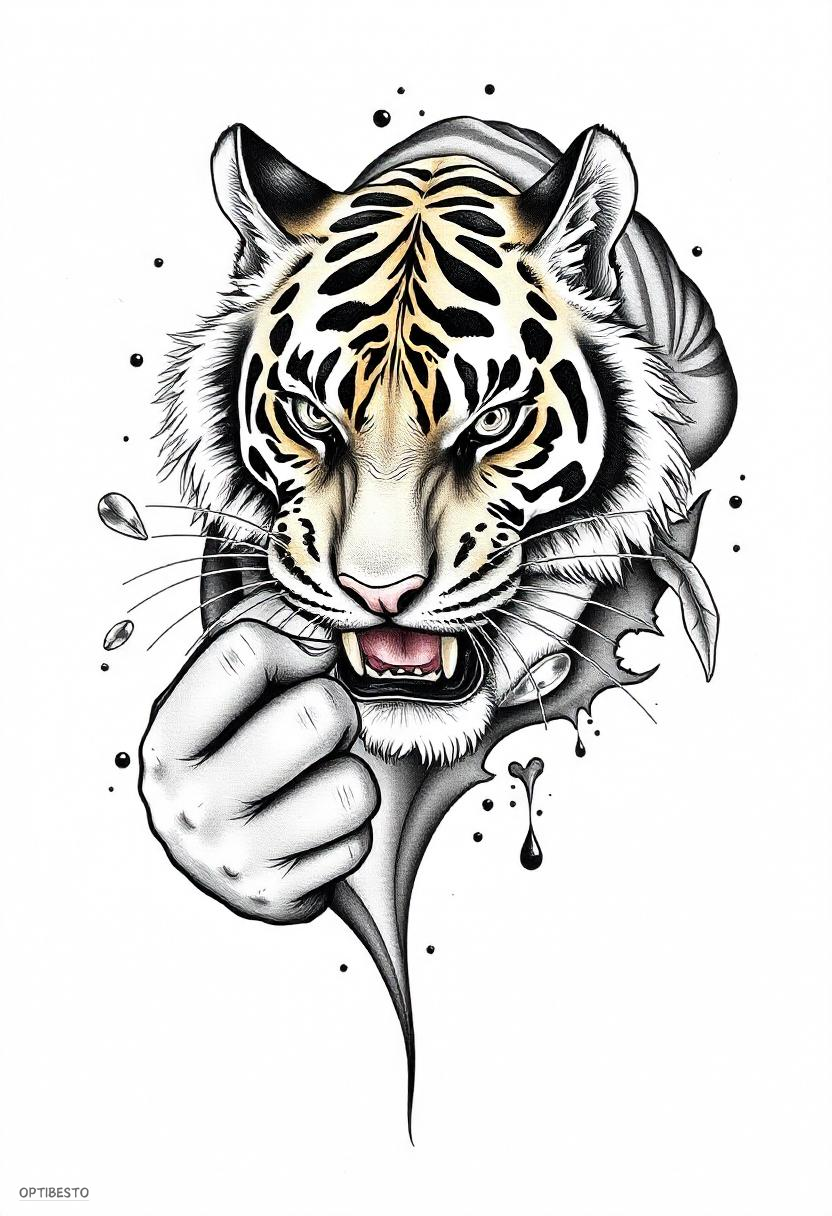
- Close-Up: A focused view of the face or just the eyes can make a powerful statement.
Tip: Sketch a few rough drafts of different poses and angles before settling on the final design. This will help you visualize which composition works best.
7. Background and Environment
Don’t overlook the background, as it can complement and enhance the tiger’s realism. Popular options include:
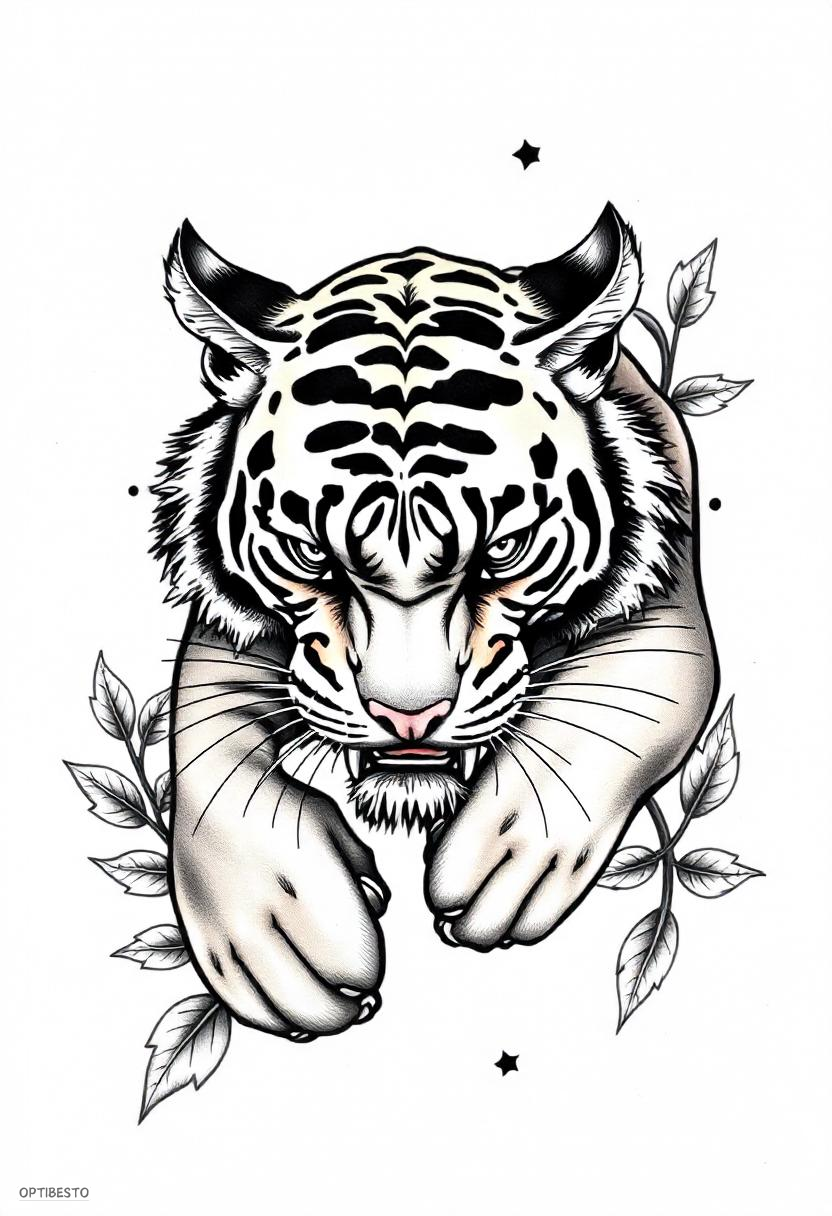
- Jungle Elements: Add foliage, bamboo, or vines for a natural habitat feel.
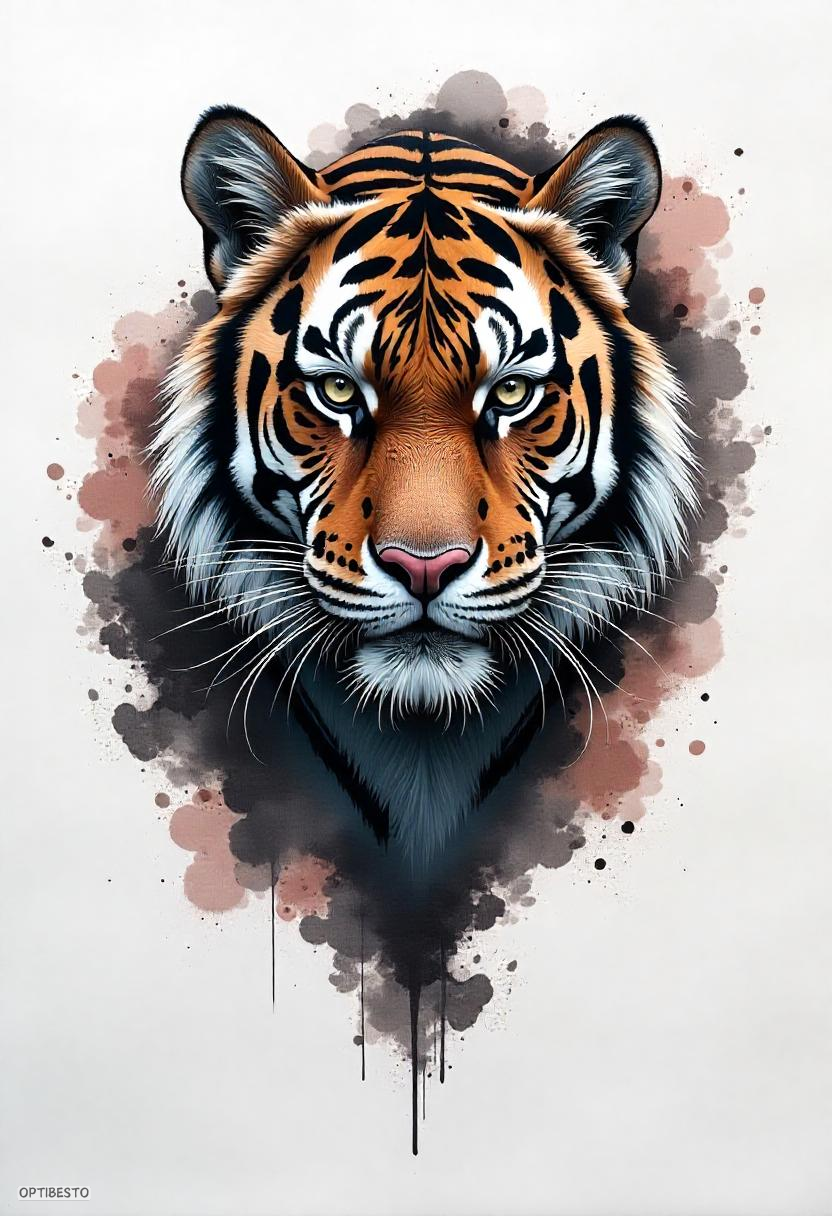
- Abstract Smoke or Clouds: Create a mystical effect that frames the tiger without overwhelming the design.
- Geometric Shapes: Incorporate modern elements like triangles or circles to juxtapose the organic form of the tiger.
Tip: Keep the background subtle. The tiger should remain the focal point.
8. Color vs. Black and Gray
Both color and black-and-gray tattoos can be stunning. Your choice depends on the mood you want to convey:
- Color Tattoos: Use vibrant oranges, whites, and blacks for a vivid, lifelike appearance. Pay attention to gradient blending for smooth transitions.
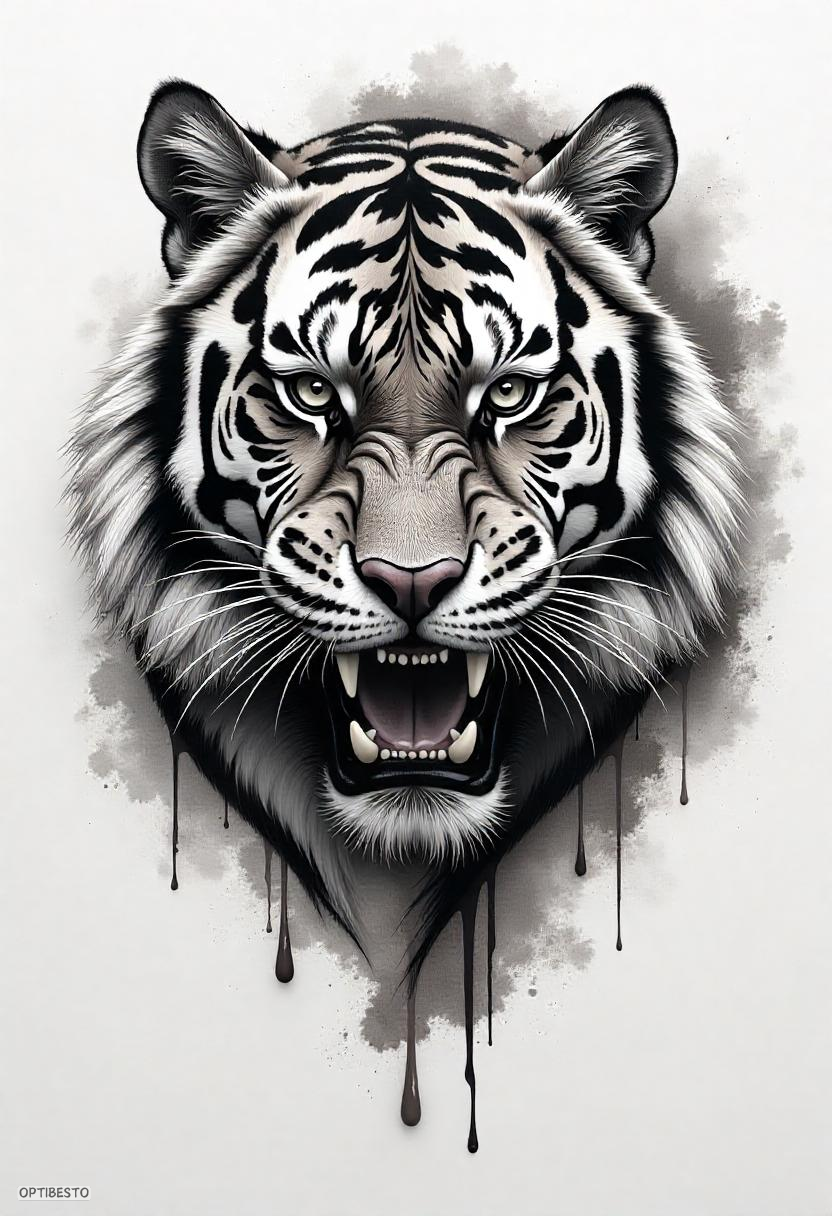
- Black and Gray: Focus on contrasts and shading to create depth. Add small touches of white ink for highlights.
Pro Tip: If using color, ensure the orange tones suit the client’s skin undertone for the most flattering result.
9. Shading Techniques
Shading adds dimension and brings your tiger to life. Key techniques include:
- Soft Shading: Use soft gradients for the fur to mimic its natural texture.
- Bold Shadows: Add deeper shadows in areas like under the jaw, behind the ears, and beneath the body.
- Light Source: Decide on a single light source to keep shadows and highlights consistent.
10. Client Consultation
For tattoo artists, understanding your client’s vision is crucial. Discuss:
- Placement: The tiger’s pose should complement the shape and flow of the client’s body.
- Size: A detailed tiger tattoo needs adequate space. Suggest larger areas like the back, chest, or thigh.
- Style: Ensure the client’s desired style (e.g., hyper-realistic, neo-traditional) aligns with the design.
11. Practice and Patience
A masterpiece takes time. Practice sketching tigers regularly to improve your skills. Don’t rush the process; each stripe, whisker, and shadow contributes to the overall realism.
- Sketch Daily: Dedicate time to drawing different parts of the tiger, such as eyes, noses, or paws.
- Seek Feedback: Share your work with fellow artists or online communities to gain constructive criticism.
- Experiment: Try different mediums, like charcoal or digital art, to explore various techniques.
12. Final Tips for Tattoo Artists
- Stencil Precision: Use a clear and detailed stencil to ensure accuracy.
- Layering Ink: Build the tattoo layer by layer. Start with lighter tones and gradually add darker details.
- Skin Texture: Be mindful of how skin stretches and moves. Adapt your design to maintain its realism over time.